Halloween Photo Tips
Hello all. Sorry for being MIA, I have been busy sewing up some Halloween Costumes. Please don't let this decieve you though. I'm not a "seamstress" but I CAN handle straight stitches. I'll have to post some photos of our costumes for you all to see (but not judge. *wink) here in the blog.
We are nearing Halloween and if you are like me, this is one of those events that capturing the moment is a must on your "to-do" list. Well, let me help you a bit on that. I've compiled some quick tips to get this year's Halloween photos looking "snappy" and not "scary"!
Note: If possible take photos of all the daytime shots with FLASH TURNED OFF.
TIP 1: SHOOT BEFORE DARK
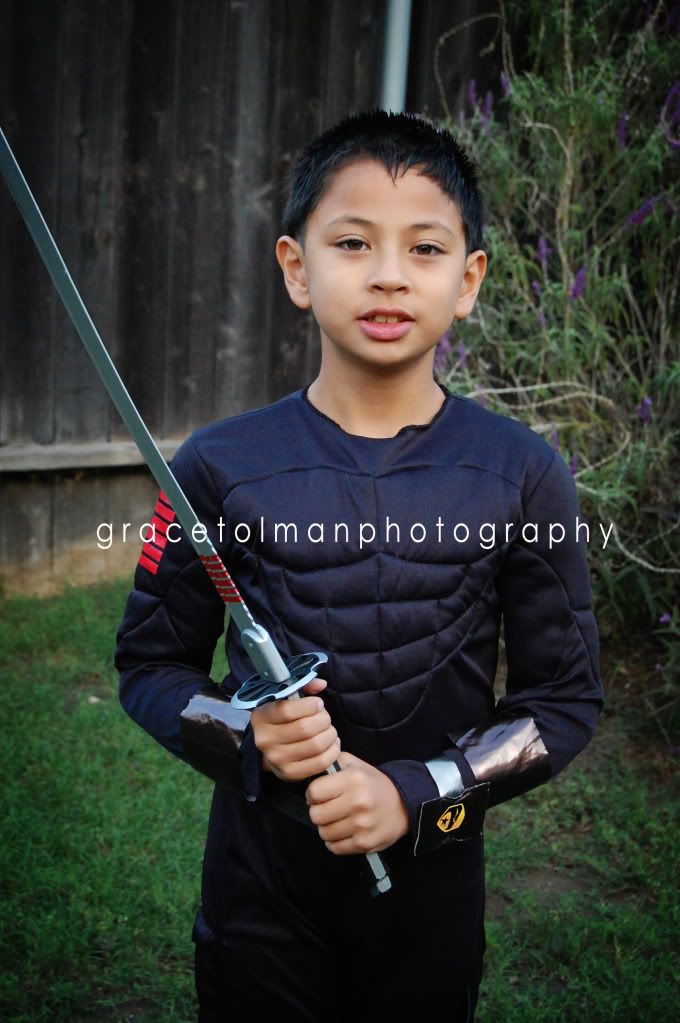 Have you heard of the term "golden hour of the day"? It's basically dusk or dawn. It's when there is a lot of indirect light which is best for taking photos of people. Getting your "costume" shots one hour before the sun sets give you enough light that you wouldn't neet that harsh glow the built in flash your camera gives or you won't have your subject squinting because the sun's too bright.
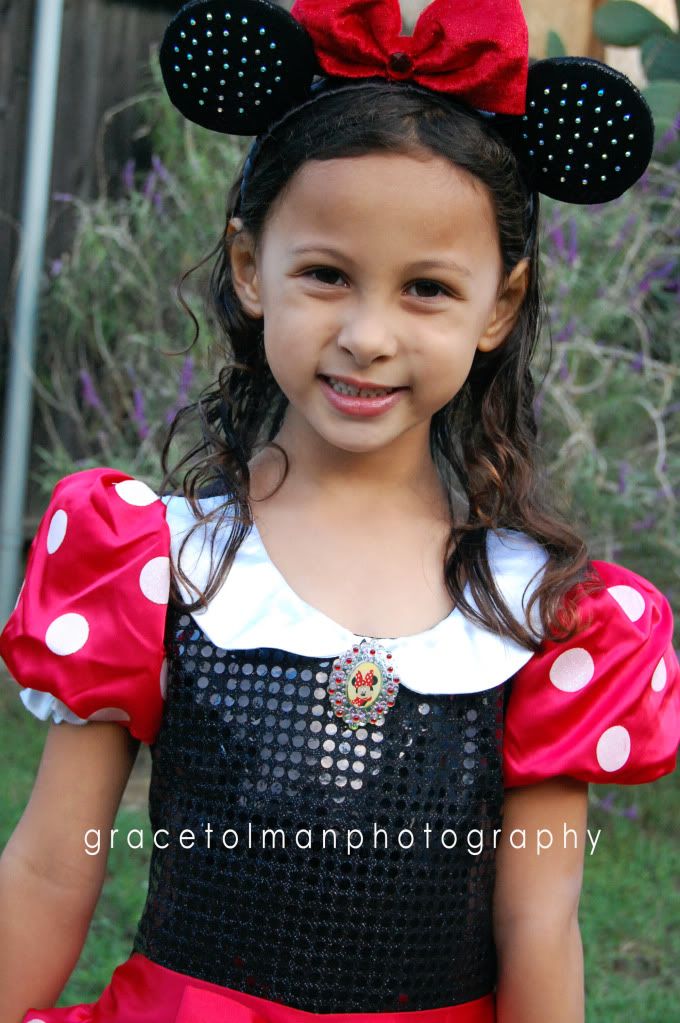
TIP 2: GET THEM ENGAGED BY HAVING THEM POSE WITH SOME PROPS
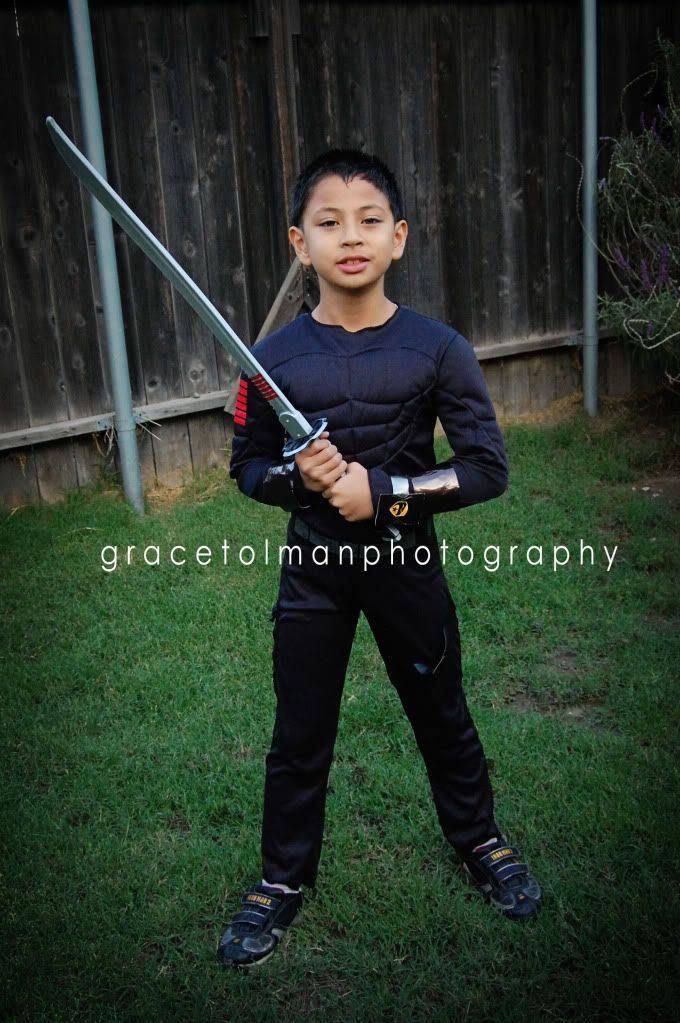 Most costumes now have some type of props that goes with them, use it to get your child/ren engaged and have more fun with your photoshoot. Make them move and do some actions too! After this, they'll want you to always take photos of them.
 I love detailed shots because as they say...."it's the little things that counts" and that is so true with photography too. That's why there's a field especially for Macro (close up) photography. But this idea also works for your Halloween photos. Don't forget to capture the little details on your child/ren's costumes, their Halloween sack/bag, this year's Jack-o-lantern, the candies and Halloween decor.
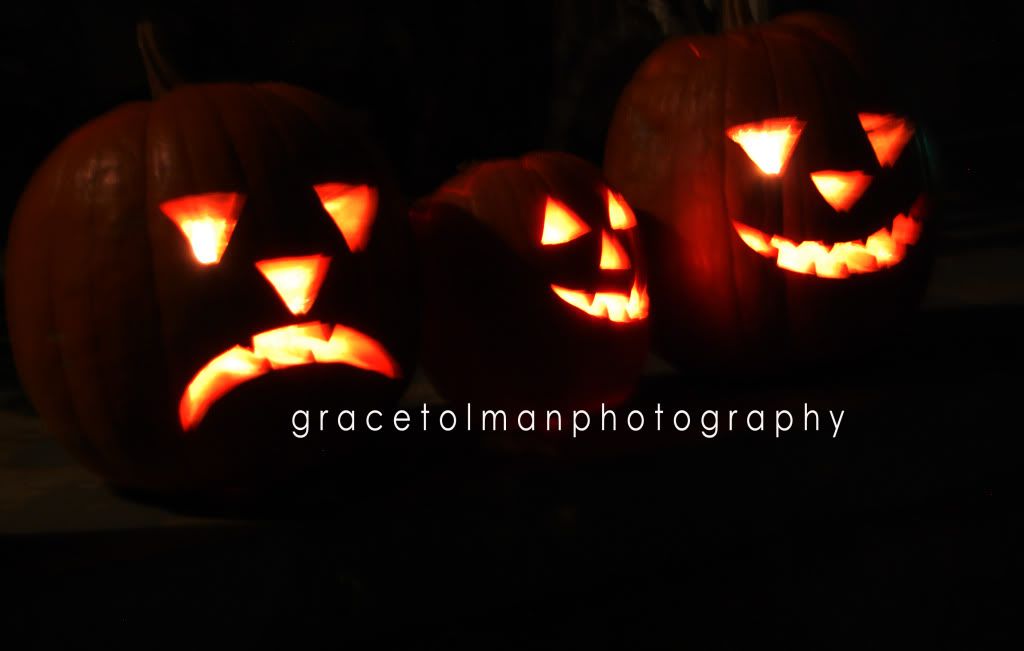
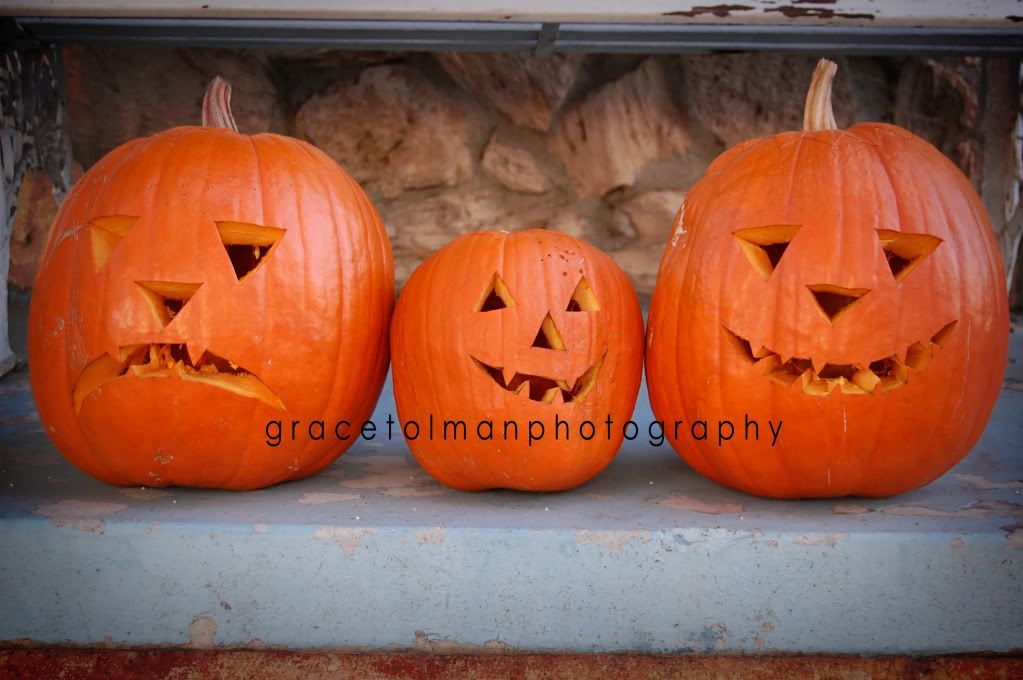
TIP 4: TAKE PHOTOS OF YOUR JACK-O-LANTERN DURING THE DAY AND AT NIGHT
We are nearing Halloween and if you are like me, this is one of those events that capturing the moment is a must on your "to-do" list. Well, let me help you a bit on that. I've compiled some quick tips to get this year's Halloween photos looking "snappy" and not "scary"!
Note: If possible take photos of all the daytime shots with FLASH TURNED OFF.
TIP 1: SHOOT BEFORE DARK
Have you heard of the term "golden hour of the day"? It's basically dusk or dawn. It's when there is a lot of indirect light which is best for taking photos of people. Getting your "costume" shots one hour before the sun sets give you enough light that you wouldn't neet that harsh glow the built in flash your camera gives or you won't have your subject squinting because the sun's too bright.TIP 2: GET THEM ENGAGED BY HAVING THEM POSE WITH SOME PROPS
Most costumes now have some type of props that goes with them, use it to get your child/ren engaged and have more fun with your photoshoot. Make them move and do some actions too! After this, they'll want you to always take photos of them.
Side note: For action shots, turn your camera dial to the SPORTS MODE. It's the one with the running man icon. This will help you freeze fast moving objects (or kids) better.
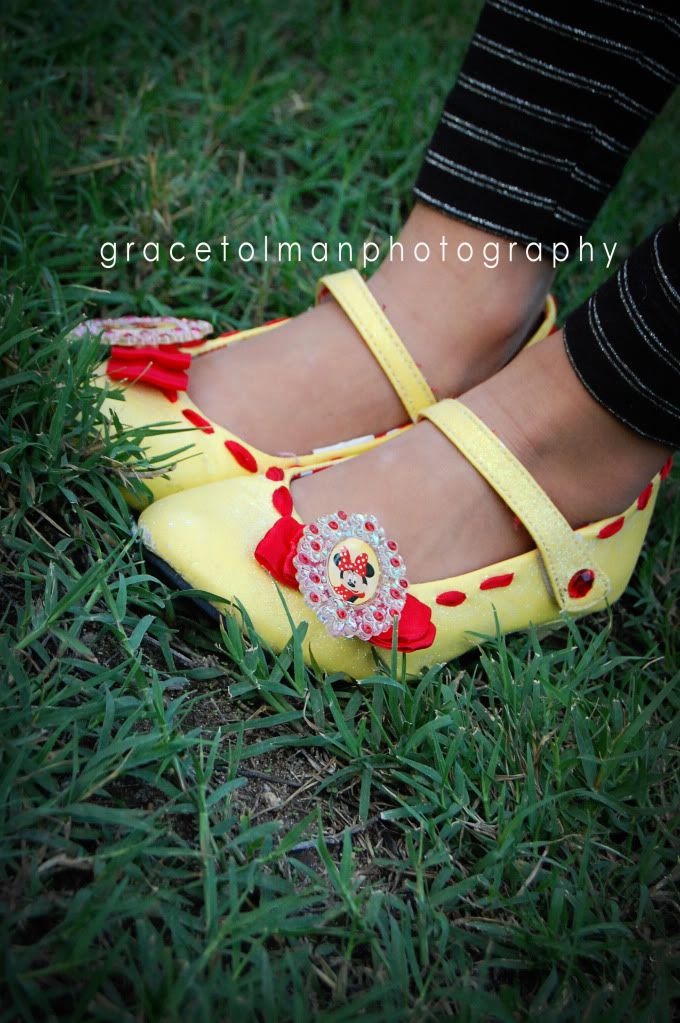
TIP 3: DON'T FORGET THE DETAILS
I love detailed shots because as they say...."it's the little things that counts" and that is so true with photography too. That's why there's a field especially for Macro (close up) photography. But this idea also works for your Halloween photos. Don't forget to capture the little details on your child/ren's costumes, their Halloween sack/bag, this year's Jack-o-lantern, the candies and Halloween decor.TIP 4: TAKE PHOTOS OF YOUR JACK-O-LANTERN DURING THE DAY AND AT NIGHT
Carved pumpkins are one of those things that offer two different looks. If you take a photo of it at night, you'll show more of the "eerie" feel of it and if photographed in the daytime, you can show off the fun, quirky and unique faces of the jack-o-lanterns.
Side note: If you want to capture a shot like my jack-o-lantern at night photo, you need to turn off your flash, put lights inside the pumpkin and place your camera on a tripod or a flat surface. Why? you don't have much light source therefore your camera is going to take a while to process because it's trying to take in as much light as possible. If you move while the camera is "doing it's thing", you'll end up with a blurry photo.
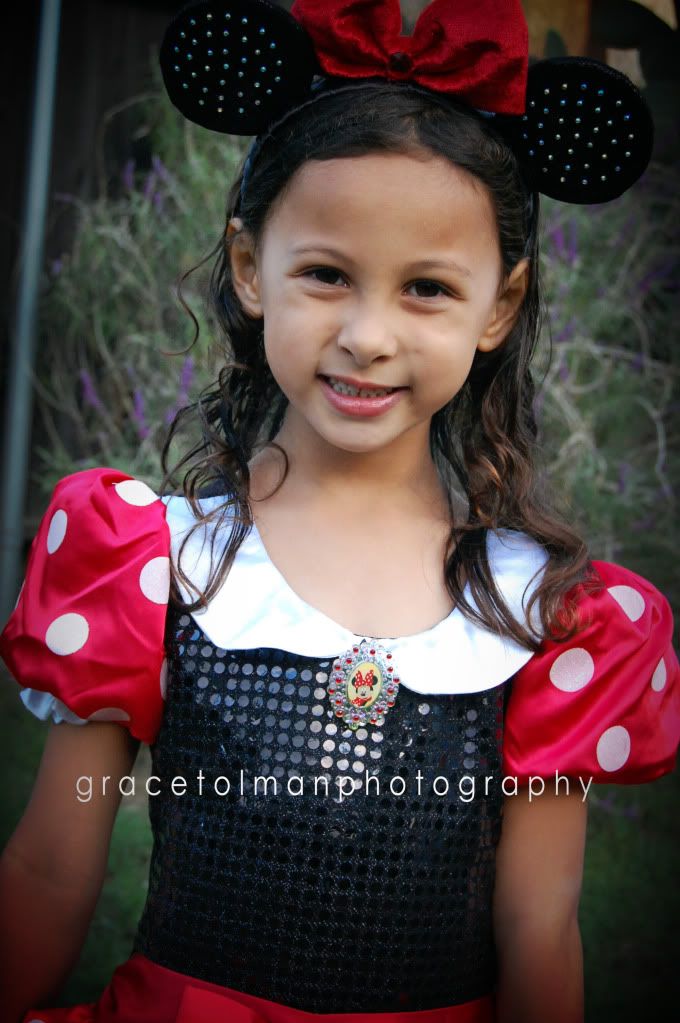
TIP 5: ADD A DARK FRAME AROUND YOUR PHOTO FOR THE EERIE FEEL.
 BTW, the action I used for this one is from Pioneer Woman.
So there you have it. I hope these simple tips will help you capture your Halloween Memories better this year. Except for the last tip, the results are instant and you can use these tricks with ANY CAMERA!
Happy Halloween Everyone.
Signing off,
I know some of you might not be post editing your photos and don't fret if you're not there yet. This all takes time. Just pat yourself in the back that you are actually using your camera instead of keeping it in your purse or camera bag. :)
So for my blog readers that are "editing" savvy, there are many ways that you can add a slight dark halo around your photos. If you have Adobe Lightroom, this can be done by a quick click on the preset Vignette 2 option on the library tab. And if you have Adobe Photoshop CS or Elements, you can google "free actions" and you will discover many choices for you to choose from.
Study the two pictures below. They are the same photo but the bottom one has the black edge added to it and it just gives the photo enough "darkness" to give it that Halloween Feel.
BTW, the action I used for this one is from Pioneer Woman.So there you have it. I hope these simple tips will help you capture your Halloween Memories better this year. Except for the last tip, the results are instant and you can use these tricks with ANY CAMERA!
Happy Halloween Everyone.
Signing off,
Grace
I have one more tip that I wanted to share but didn't have any room in this post. Sign up for my newsletter to see a tip on how you can take better photos at night. Sign up bar is on the right side of the blog.
I have one more tip that I wanted to share but didn't have any room in this post. Sign up for my newsletter to see a tip on how you can take better photos at night. Sign up bar is on the right side of the blog.
And if you thought this little addition to the blog helped you a bit today and want me to give more tips please leave a comment and tell me what you'd like me to cover next time. :)

Comments
Post a Comment